Secure your emails with Mailvelope and Murena Mail
Murena’s SnappyMail integration with the Mailvelope extension allows you to encrypt/decrypt/sign your emails, as well as create/manage PGP keys right in the browser. This makes it easier to secure your emails end-to-end and protect your privacy.
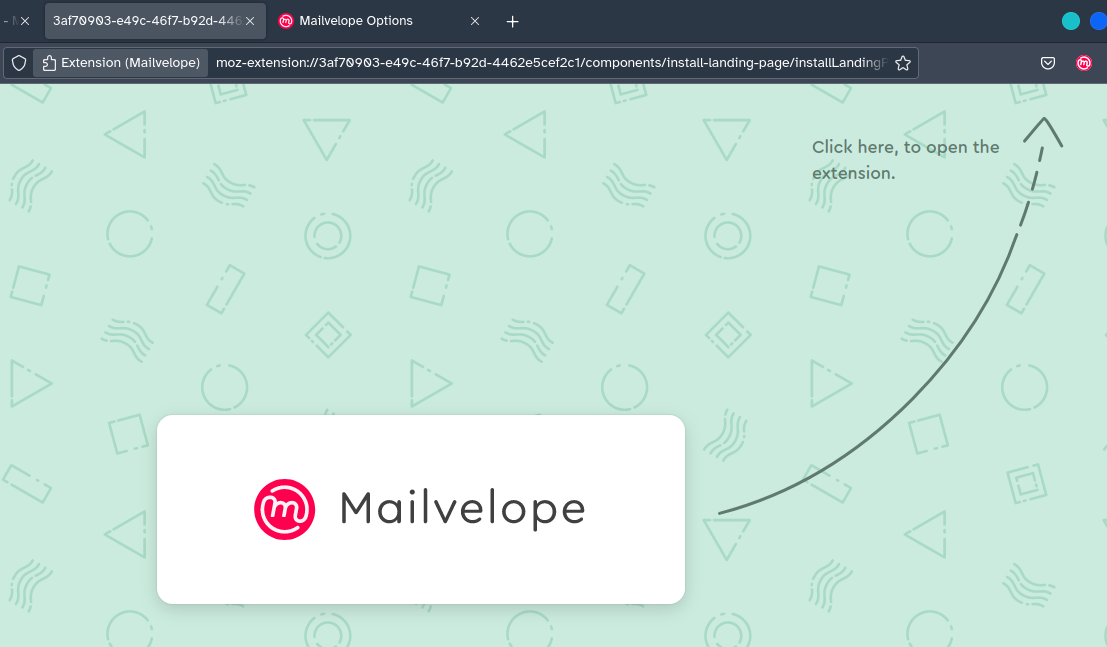
Step 1: To begin, download and set up the Mailvelope browser extension. You can install Mailvelope on Firefox, Chrome, Edge, or other browsers that allow installing extensions from these sources.
Step 2: Configure Mailvelope
-
Launch the Mailvelope extension.
-
Select
Let's start. -
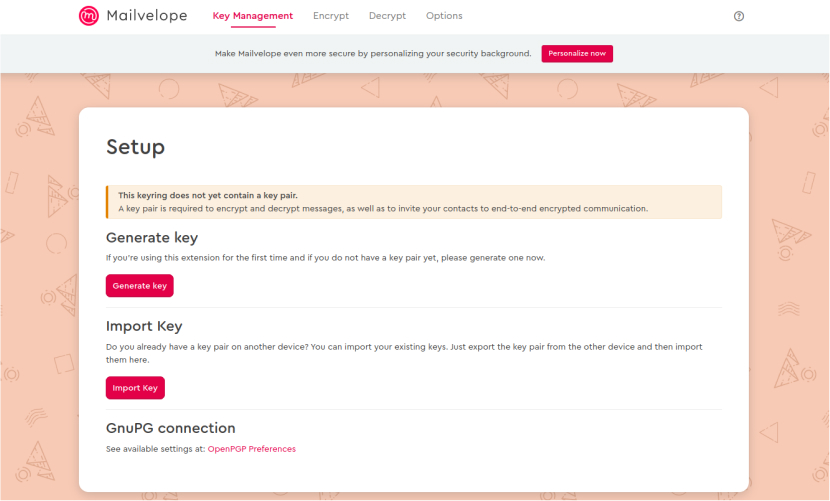
Import your PGP keys or generate a PGP key if you don’t already have one. If you’re new to PGP keys, check out Mailvelope’s FAQs on Managing my own keys and Sharing and using keys. Setting a password for your key is highly recommended.
-
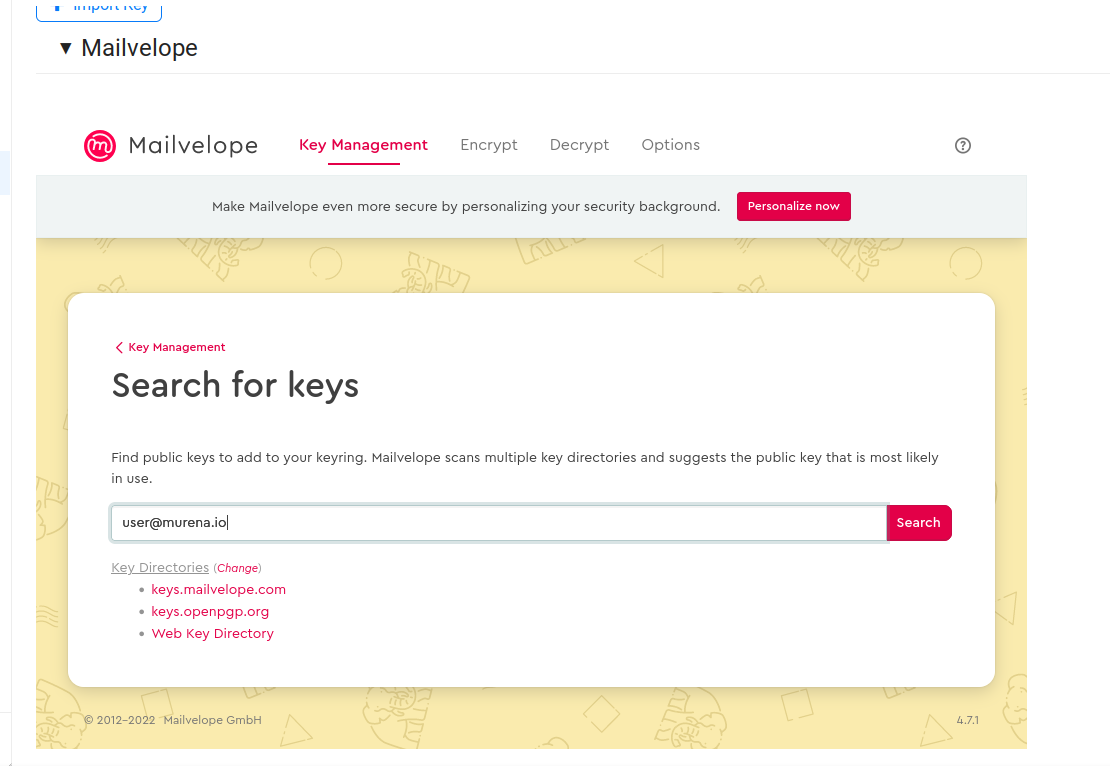
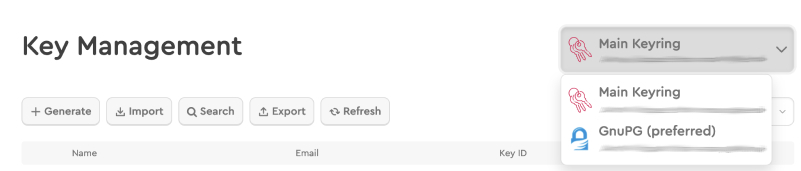
At this point, you should also import the public keys of your recipients, so you can send encrypted emails to them. You can ask them for their key directly or search for their public key on PGP key servers. Mailvelope makes this easy for you by allowing you to search for keys within the extension itself, under Key Management.
-
For more security, you can choose your operating system’s key management solution. Visit the key management settings in Mailvelope to change that.
Step 3: Authorize Murena.io to integrate with Mailvelope.
-
Navigate to https://murena.io.
-
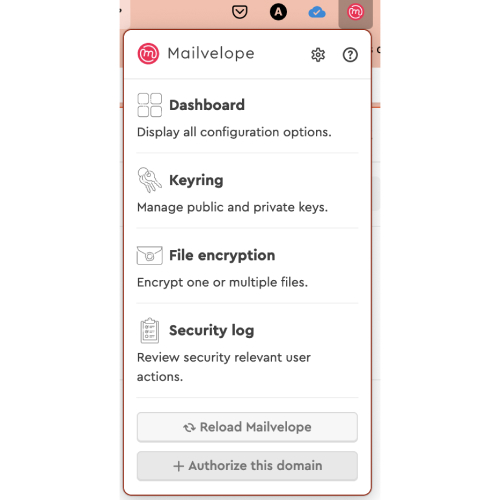
Open the Mailvelope extension.
-
Select ‘+ Authorize this domain’.
-
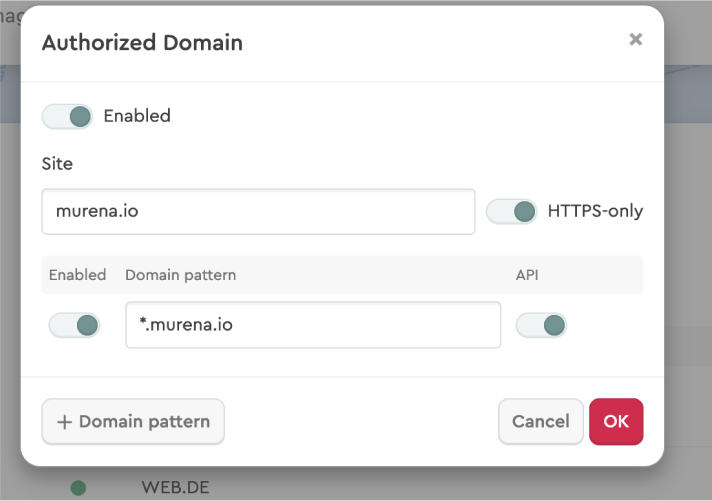
Enable Murena.io API access, so you can access Mailvelope functions from Murena cloud.
-
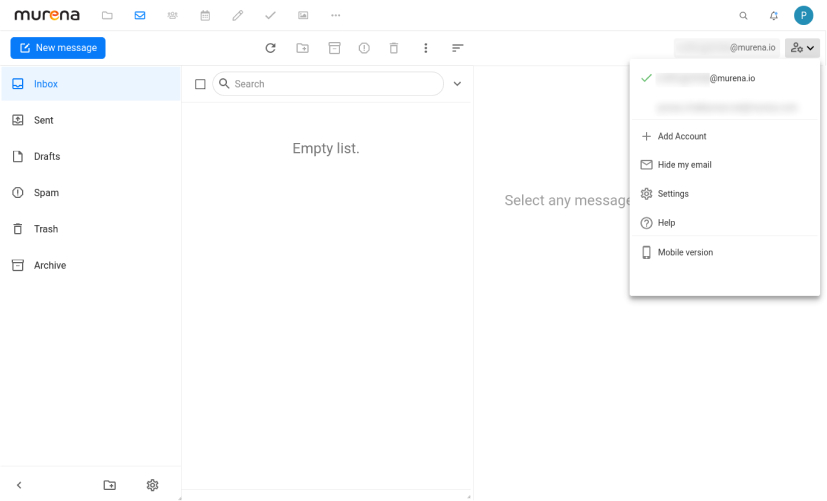
You can manage your Mailvelope settings in Murena’s SnappyMail once you have authorized Murena.io.

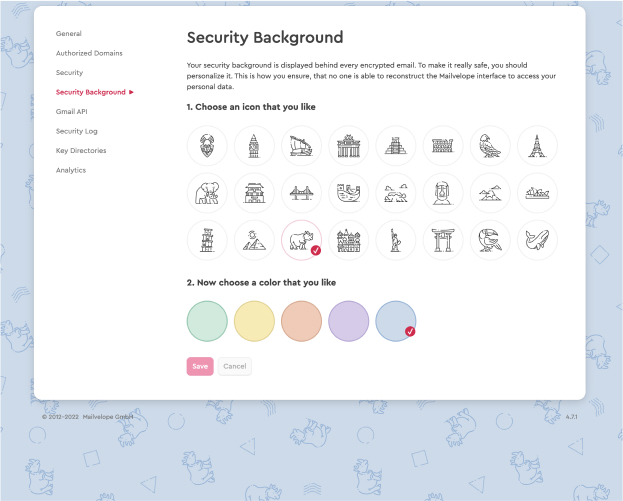
Step 4: Choose a distinct security background to avoid phishing attempts from other apps. You can do so by going to Mailvelope’s settings.
Encrypting and sending an email with Mailvelope
-
Start composing a new email on Murena.io.
-
At the top right of the email text box, a new Mailvelope icon should appear. When you hover over it, it will say ‘Write secure email’. Click on it to start writing a secure email.

-
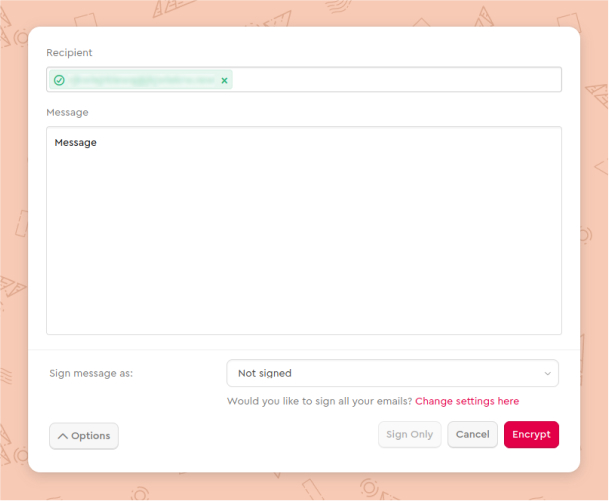
In the new window that appears, enter your recipient’s email address that is associated with their public key, type in your message, then click ‘Encrypt’. If you see an error message for your recipient that says ‘Key not found!’, please follow step 2 again.
-
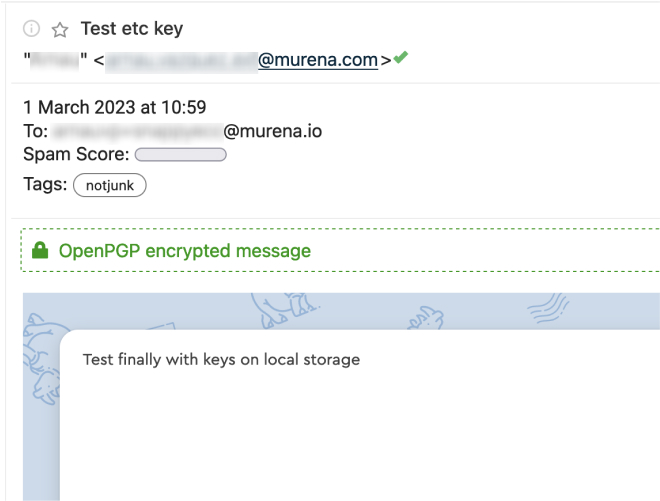
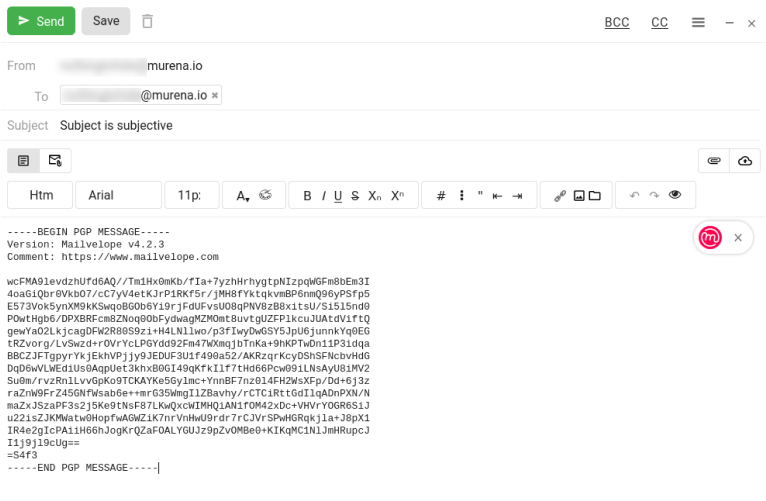
After you click ‘Encrypt,’ Mailvelope will encrypt your message with the recipient’s public key and insert it into the email as shown below.
-
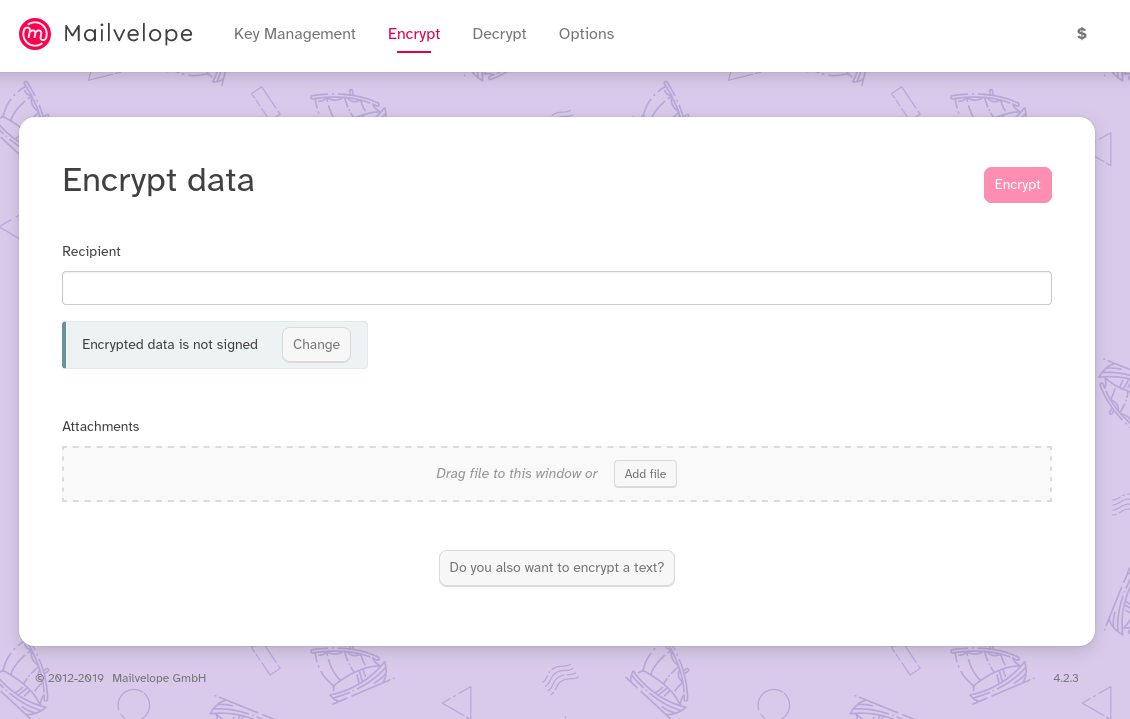
You can also encrypt your attachments with Mailvelope. However, files can only be encrypted by opening the Mailvelope extension and clicking on ‘File Encryption’
Decrypting a received encrypted email with Mailvelope
-
Encrypted emails will be displayed in an envelope with a ‘Show message’ button. You can read the decrypted message by clicking on it.

-
If you have set a password for your PGP key, you will be prompted to enter it.
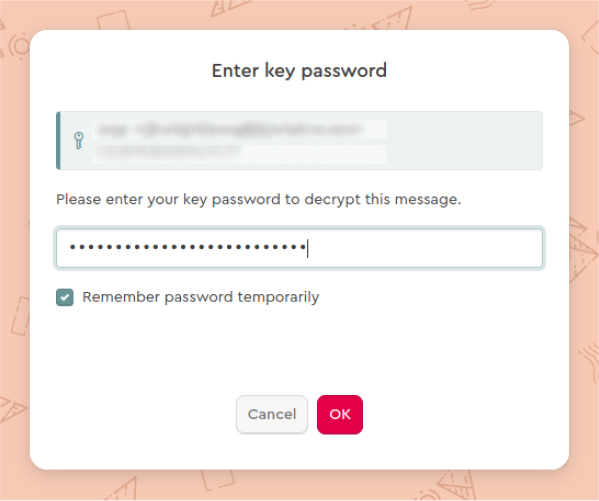
-
If you enter the password correctly, Mailvelope will decrypt the message and display it in your inbox.