
How to setup Android Auto with /e/OS?
Edit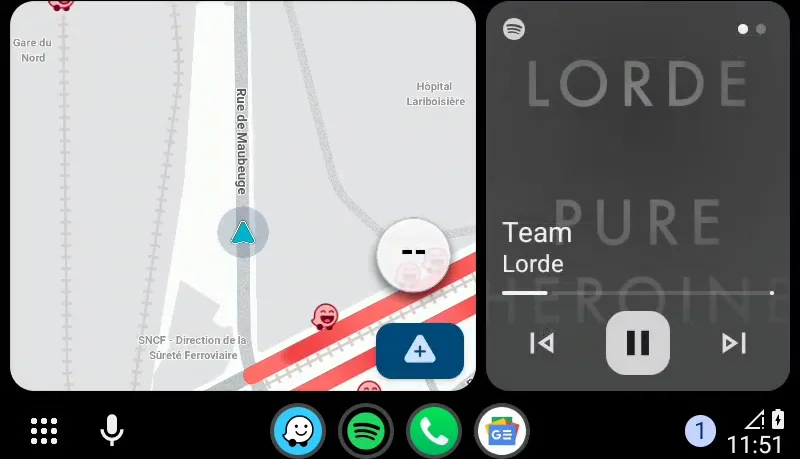
With the launch of /e/OS v2.0, we’ve added support for Android Auto. Follow along to setup Android auto with /e/OS.
Steps to Install Android Auto
All four apps are installed through App Lounge.
Search for
Googleand install it.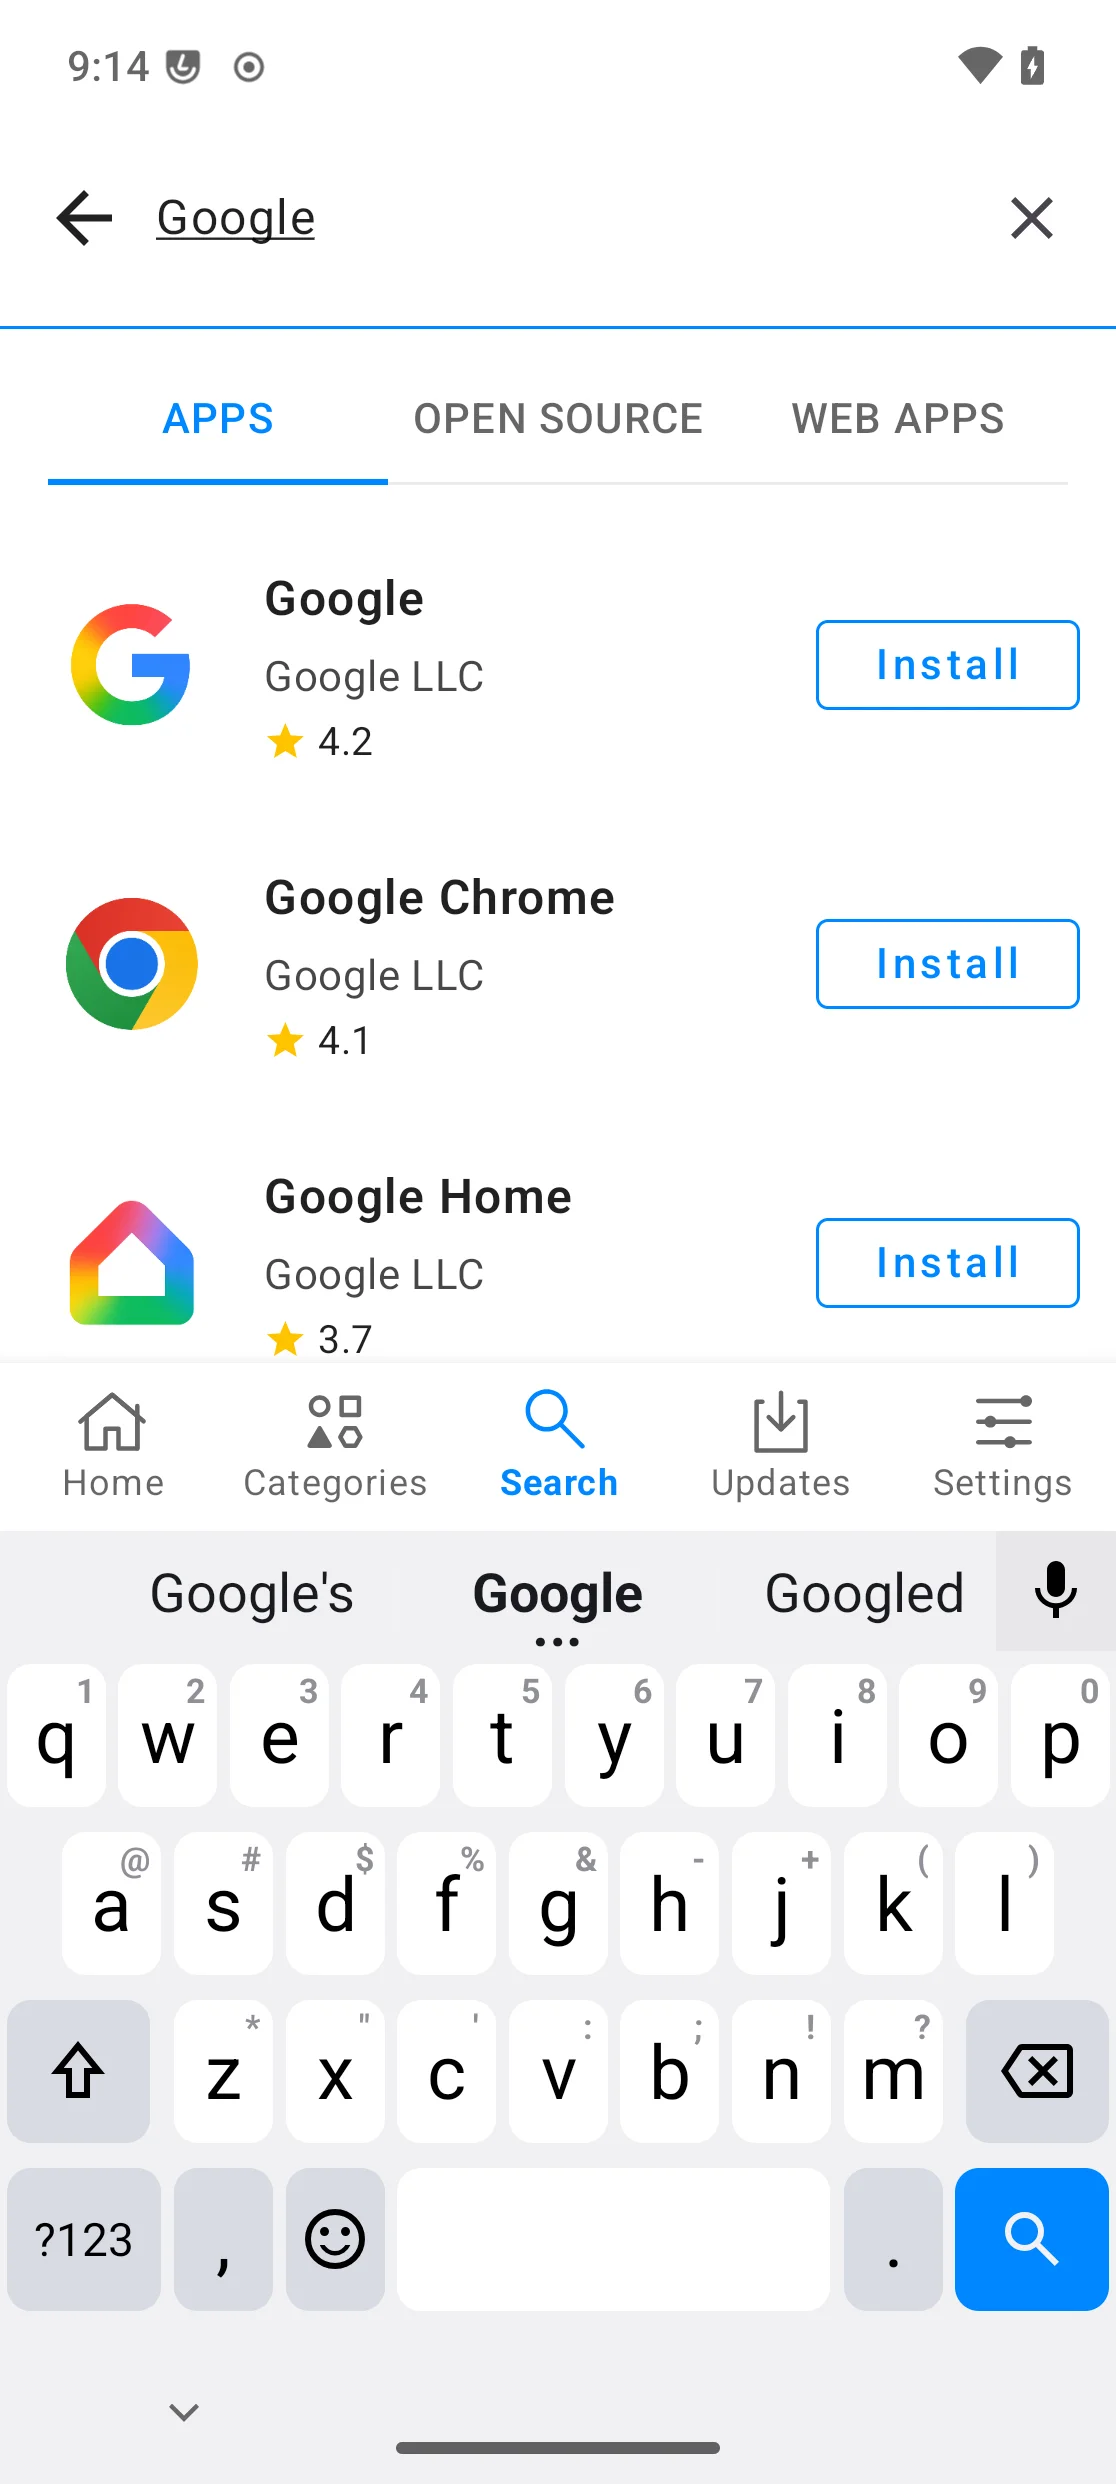
Once installed, repeat the search for
Google Maps.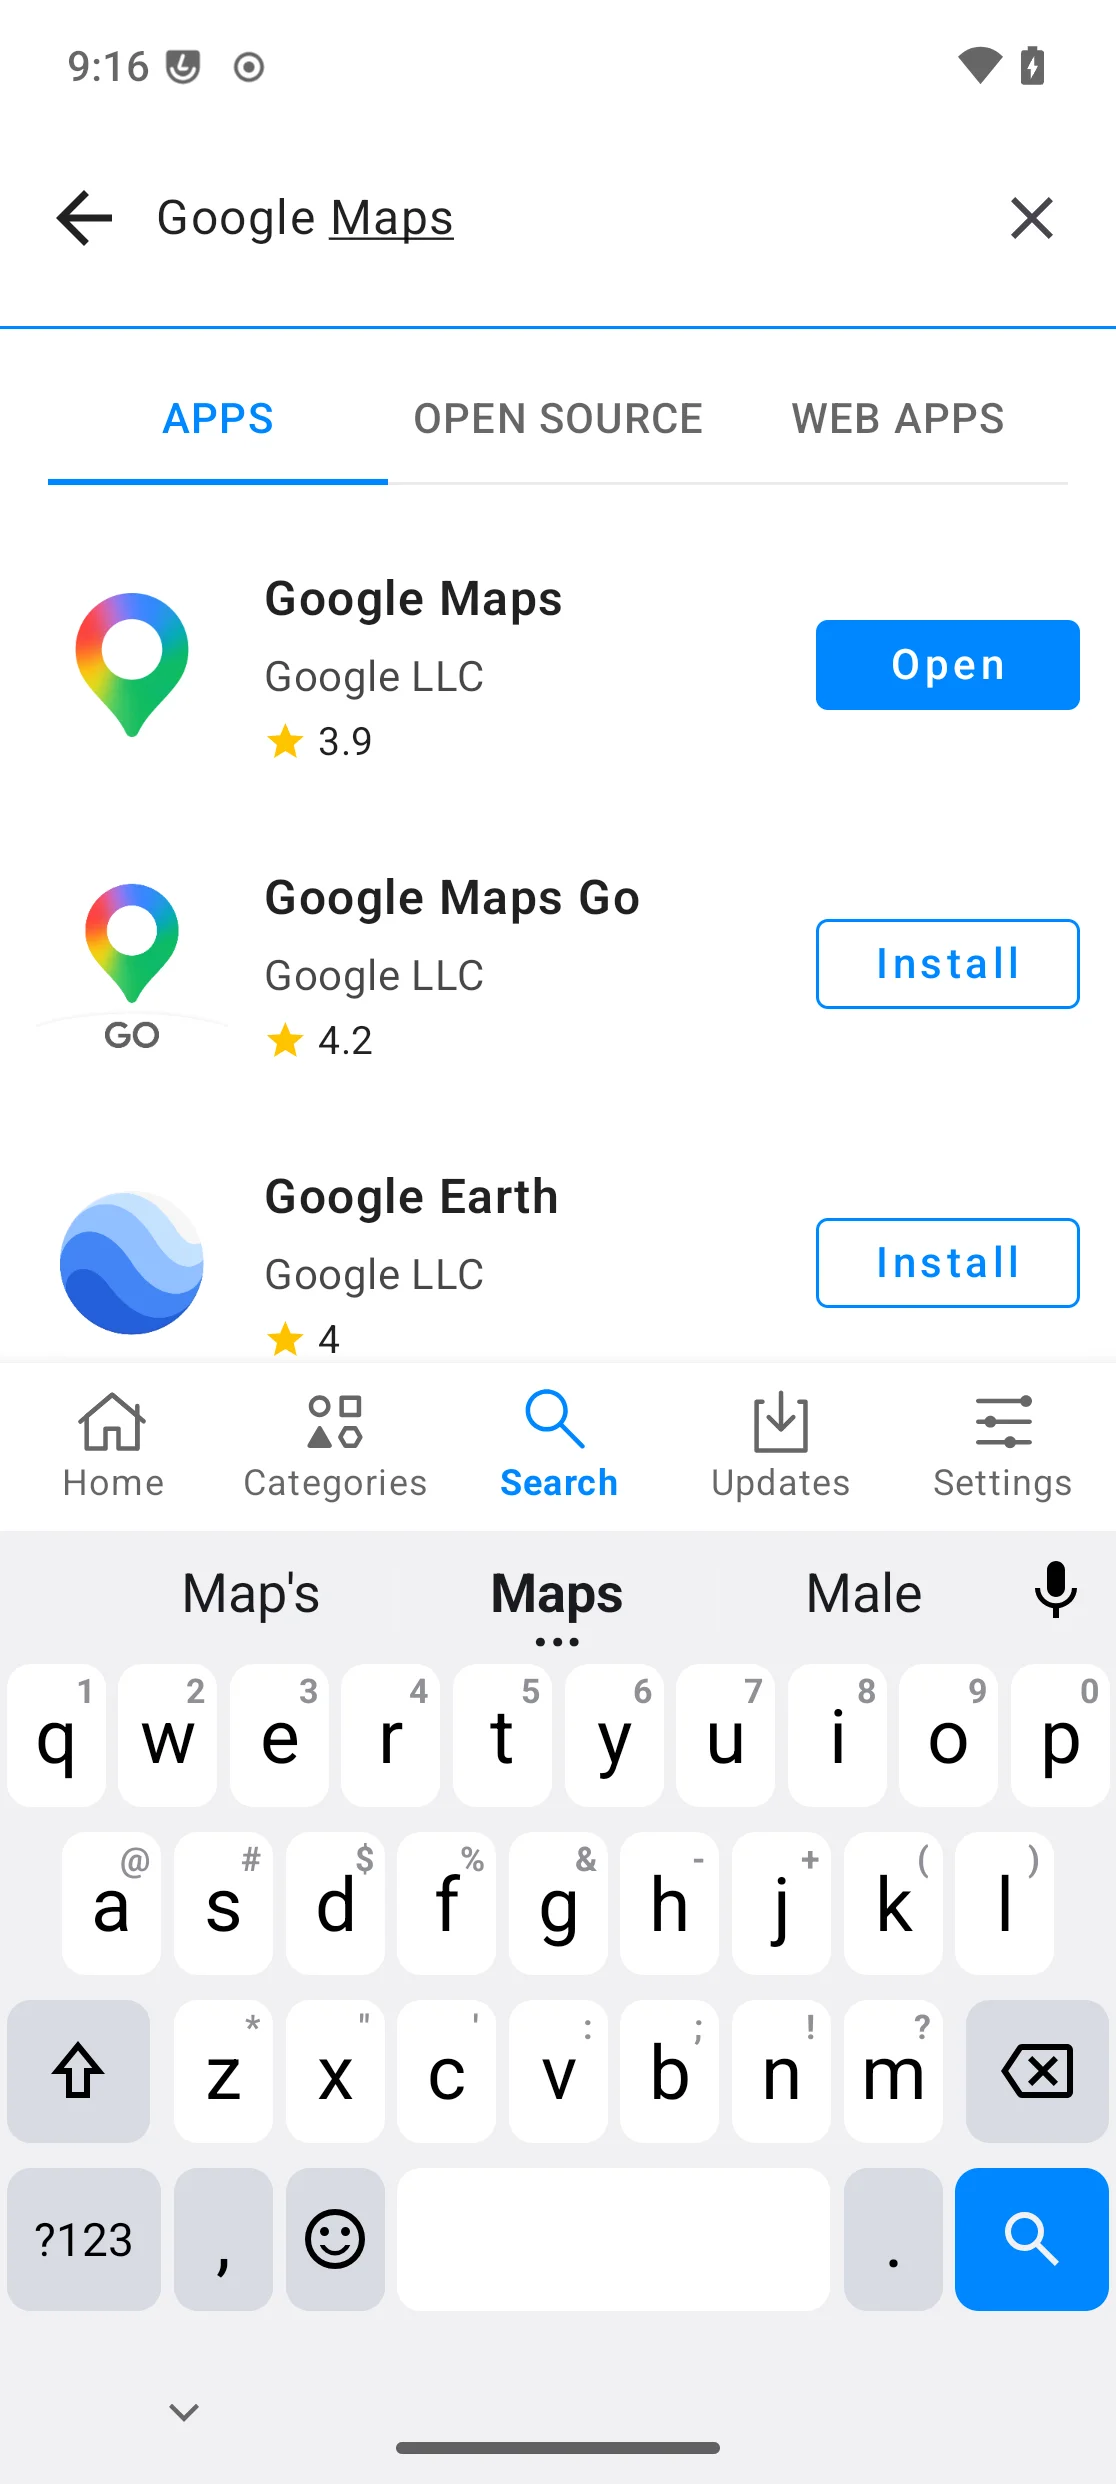
Repeat for
Google Speech Recognition & Synthesis.
Finally, update
Android Autoitself, then reboot the device.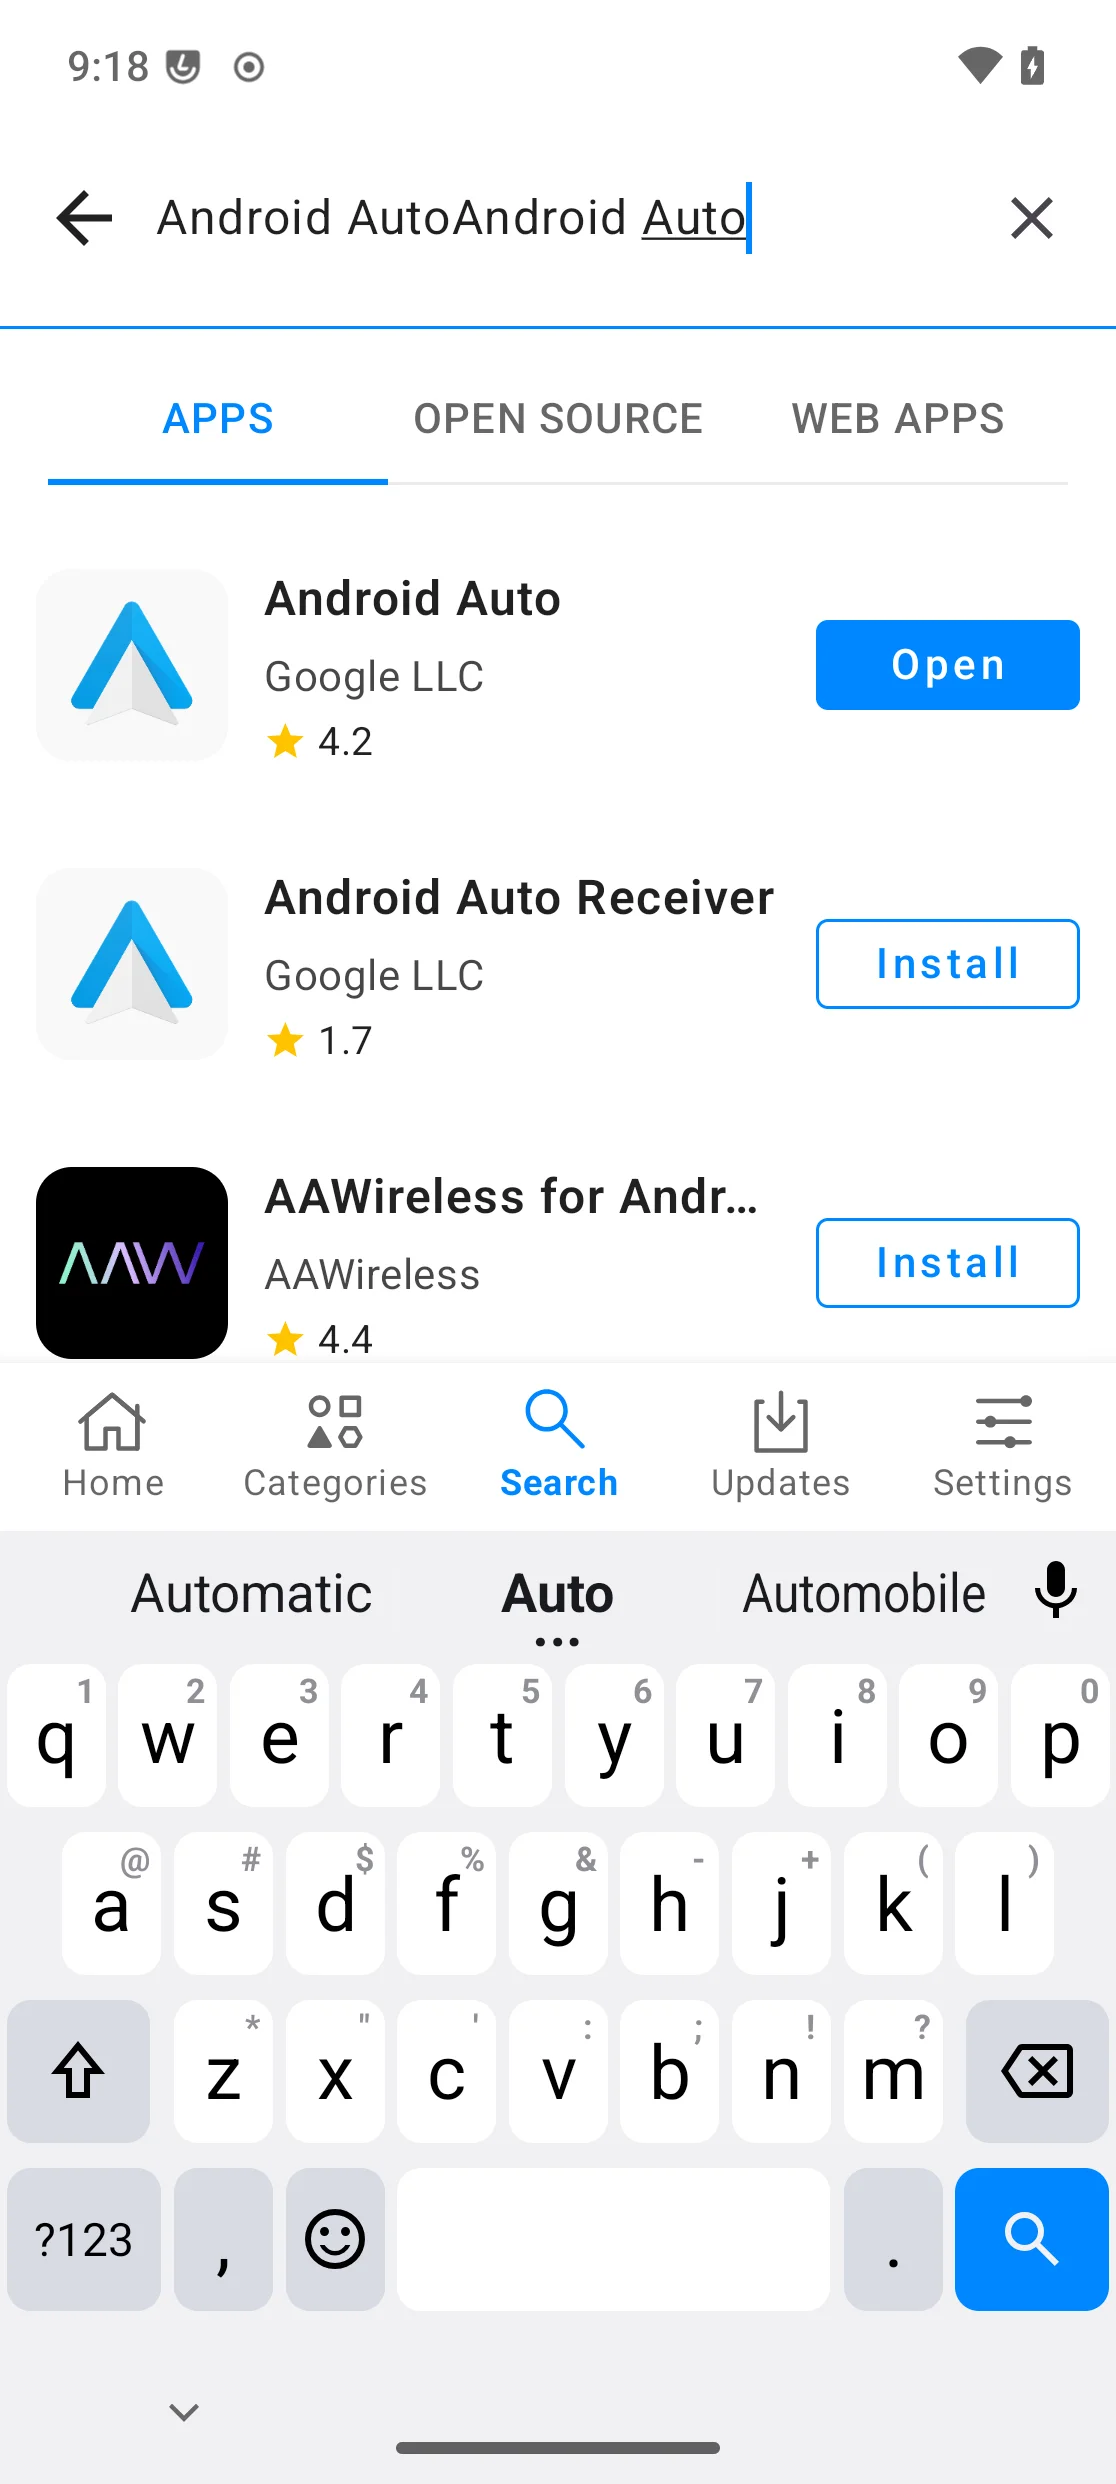
Setup Android Auto on your Car
Connect your /e/OS device with a Car that’s compatible with Android Auto. Only a USB cable that supports data transfer will work.
If everything goes well, you should see the following screen. Tap
OKif you agree:
Tap on
Continueif you agree:
Android Auto will ask you to continue the setup on your /e/OS device. Tap on
Go to phone:
On your /e/OS device you’ll be asked to turn ON notification access for Android Auto.
Settings→ searchNotification accessshows Android Auto under “Not allowed”: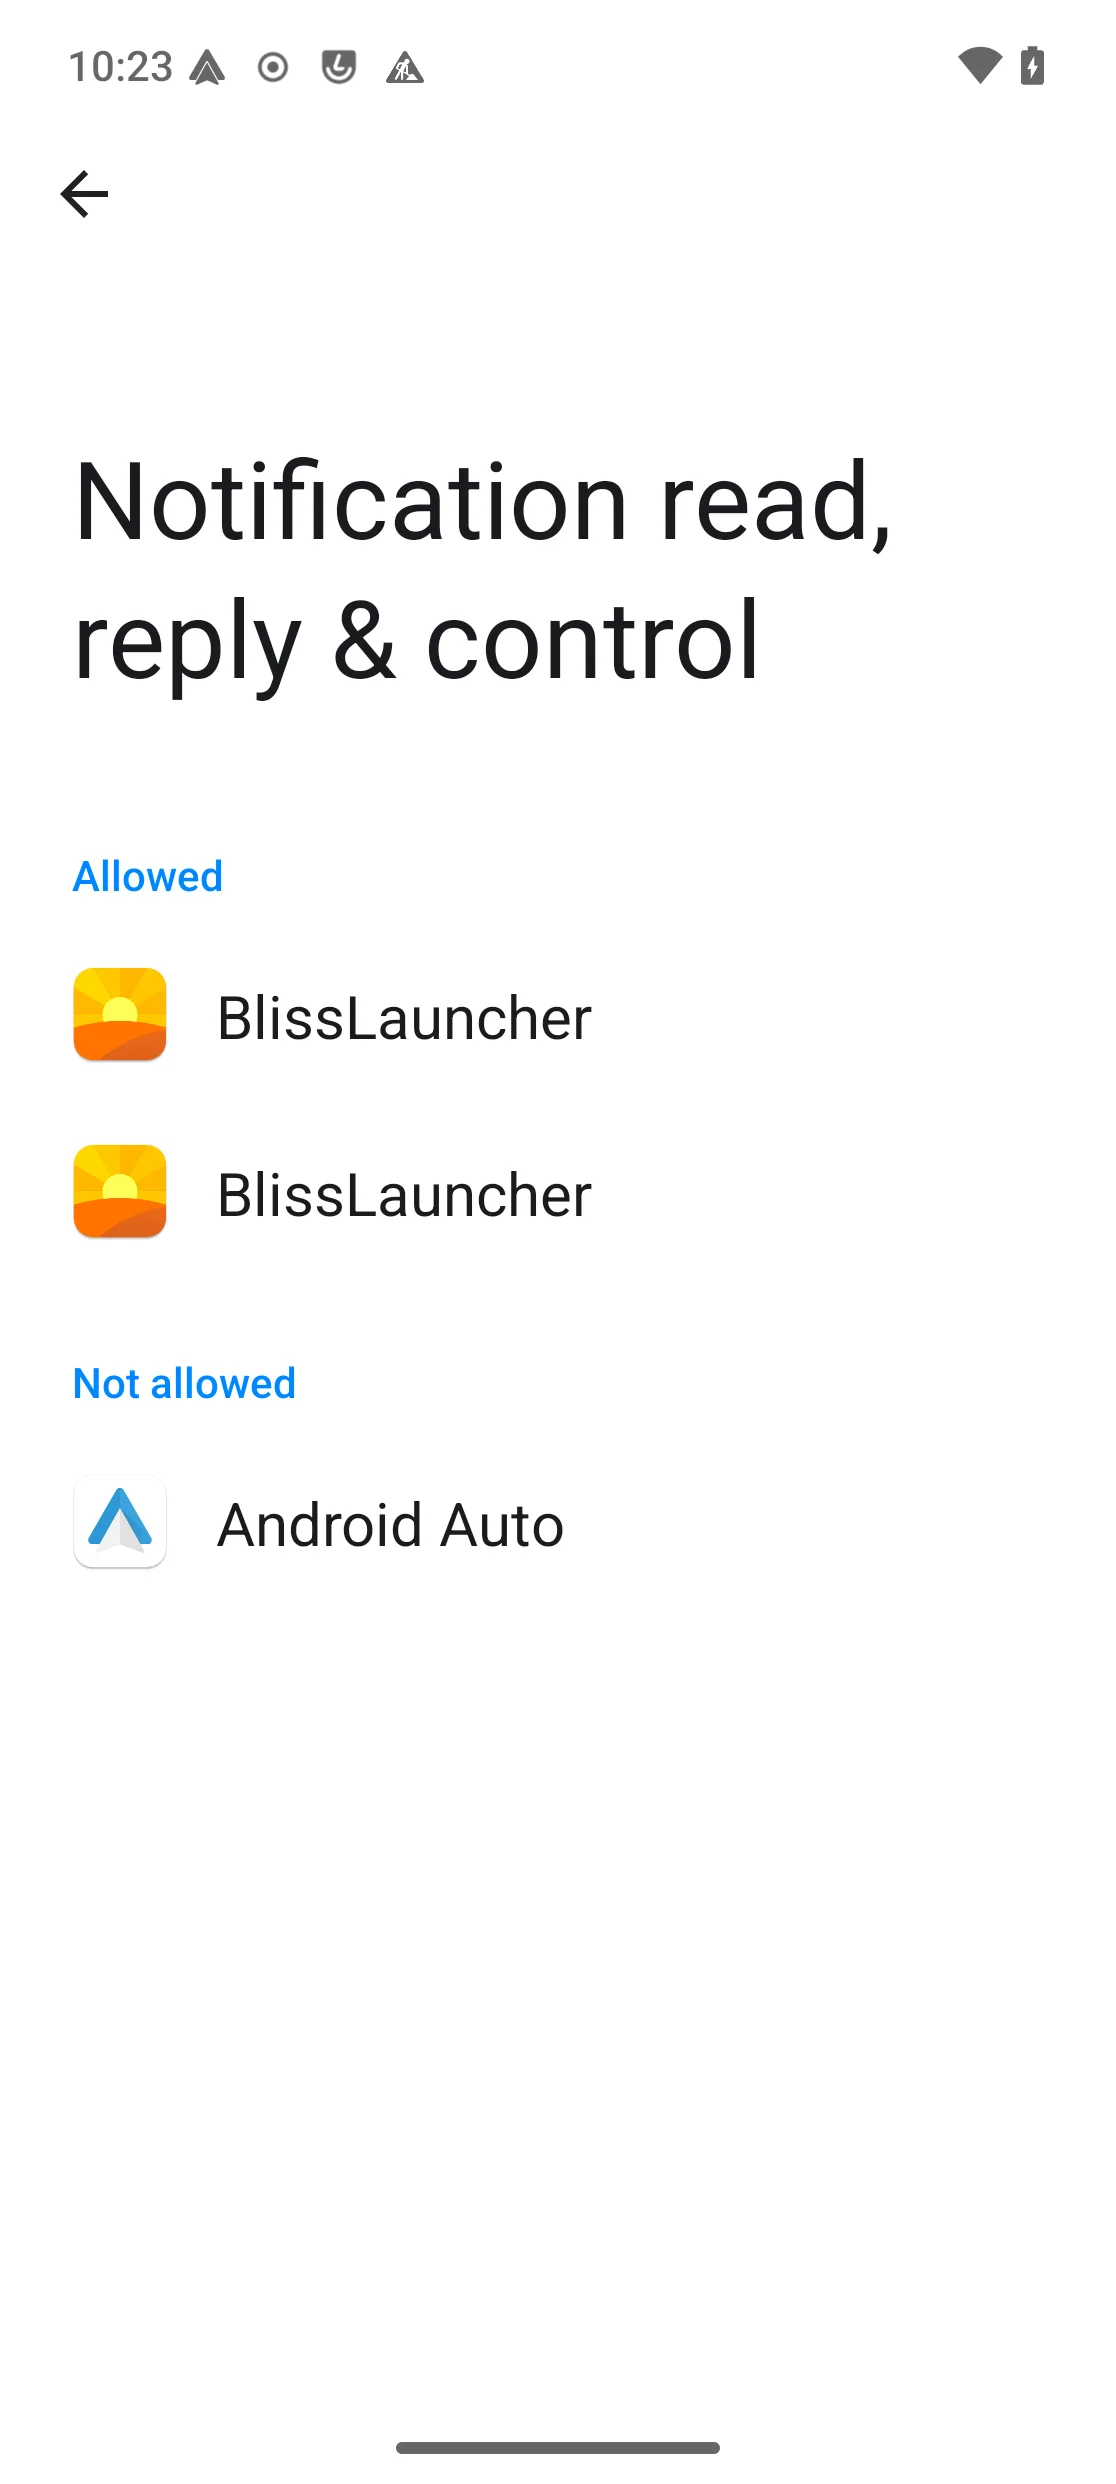
Tap it, then turn on
Allow notification accessand confirm: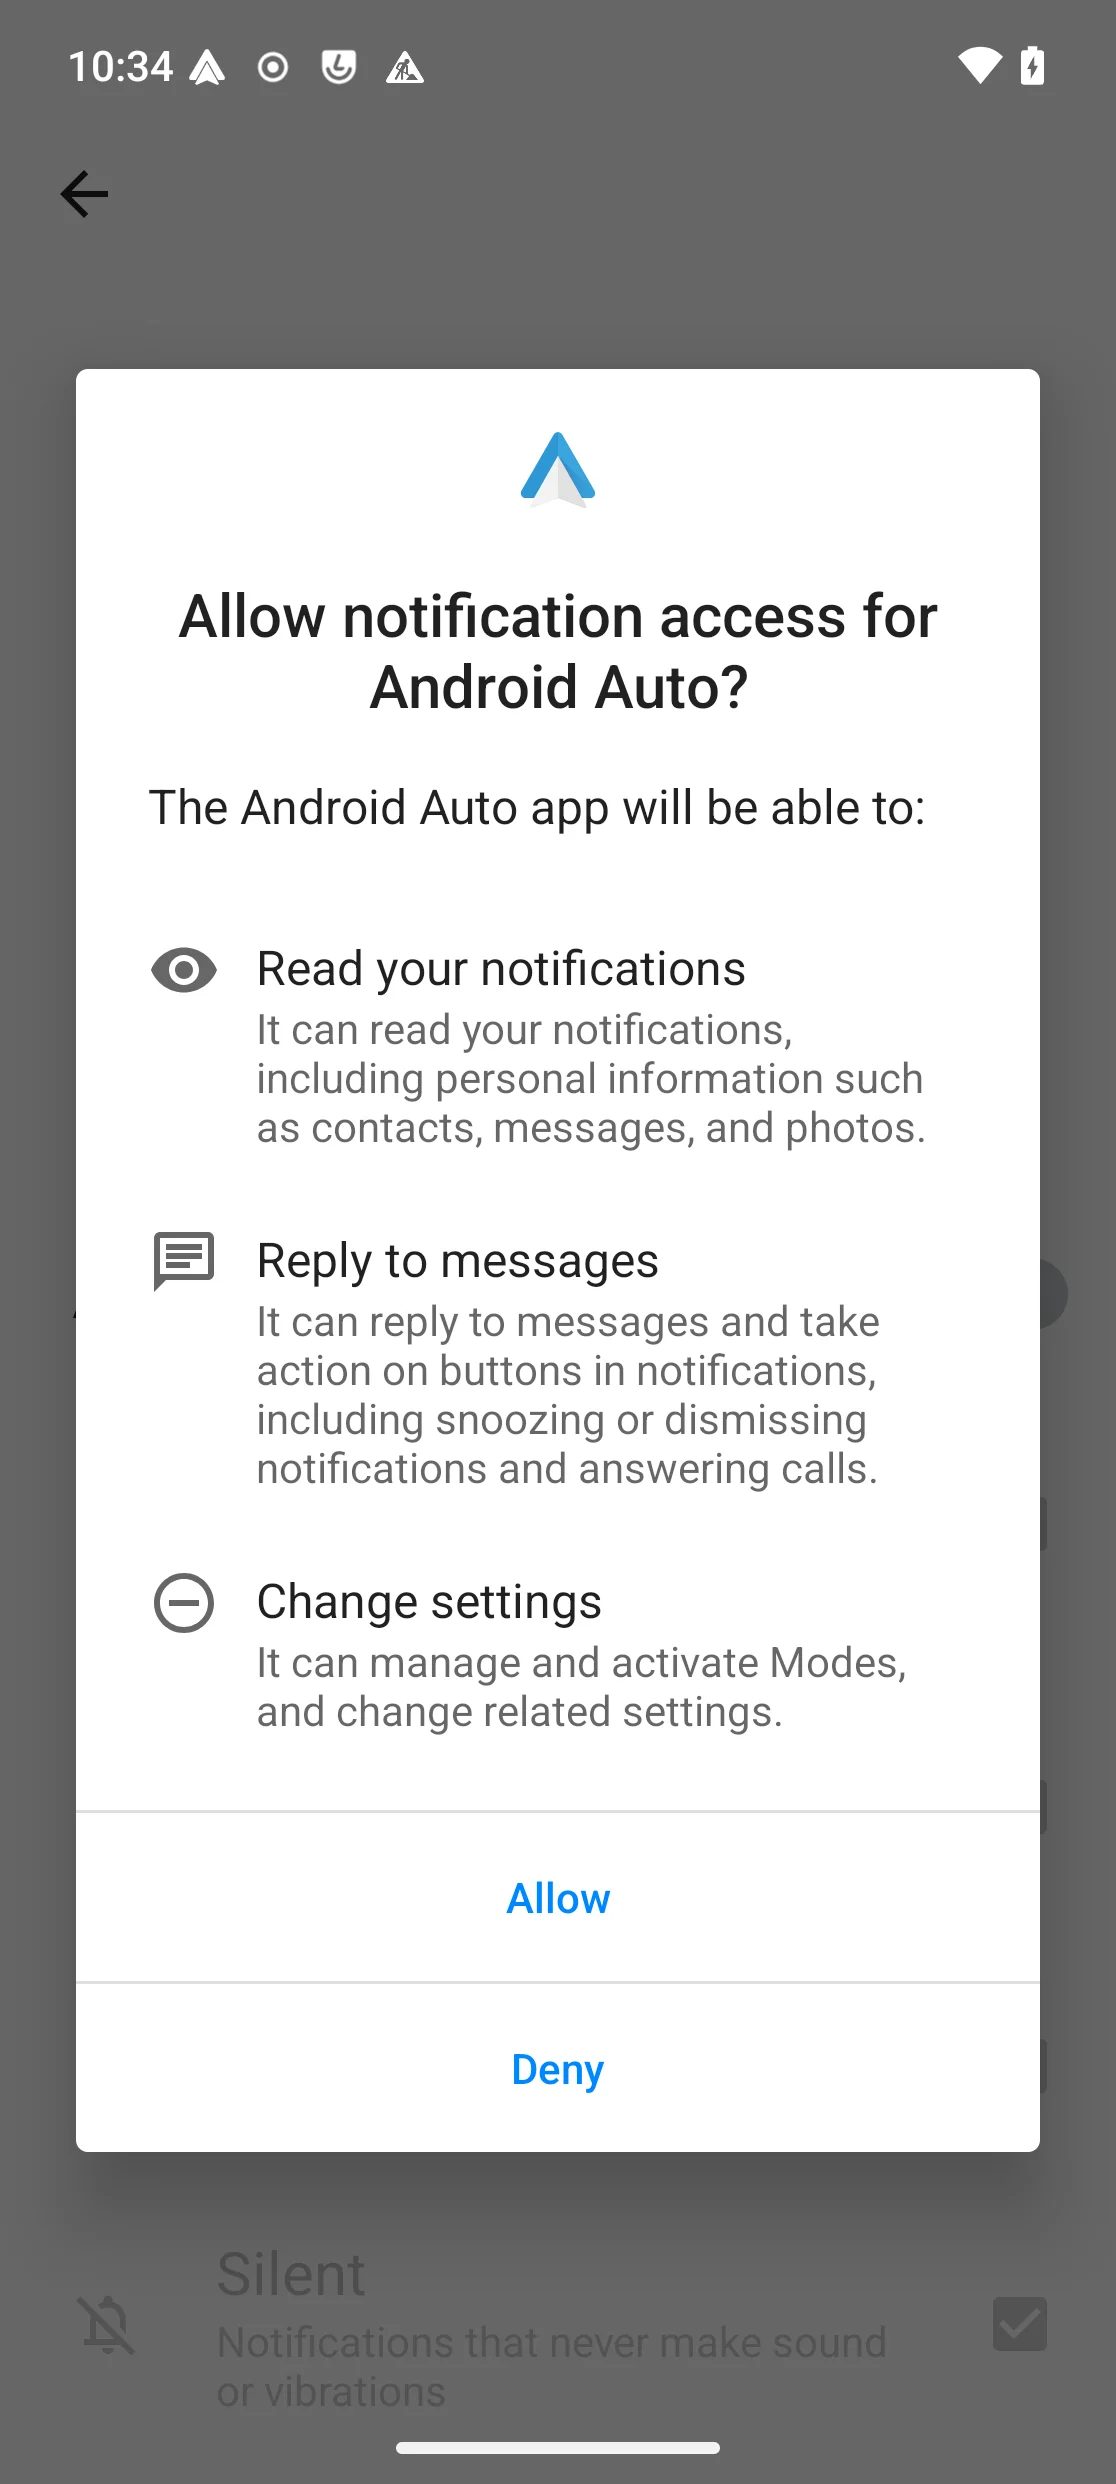
It now shows as allowed:
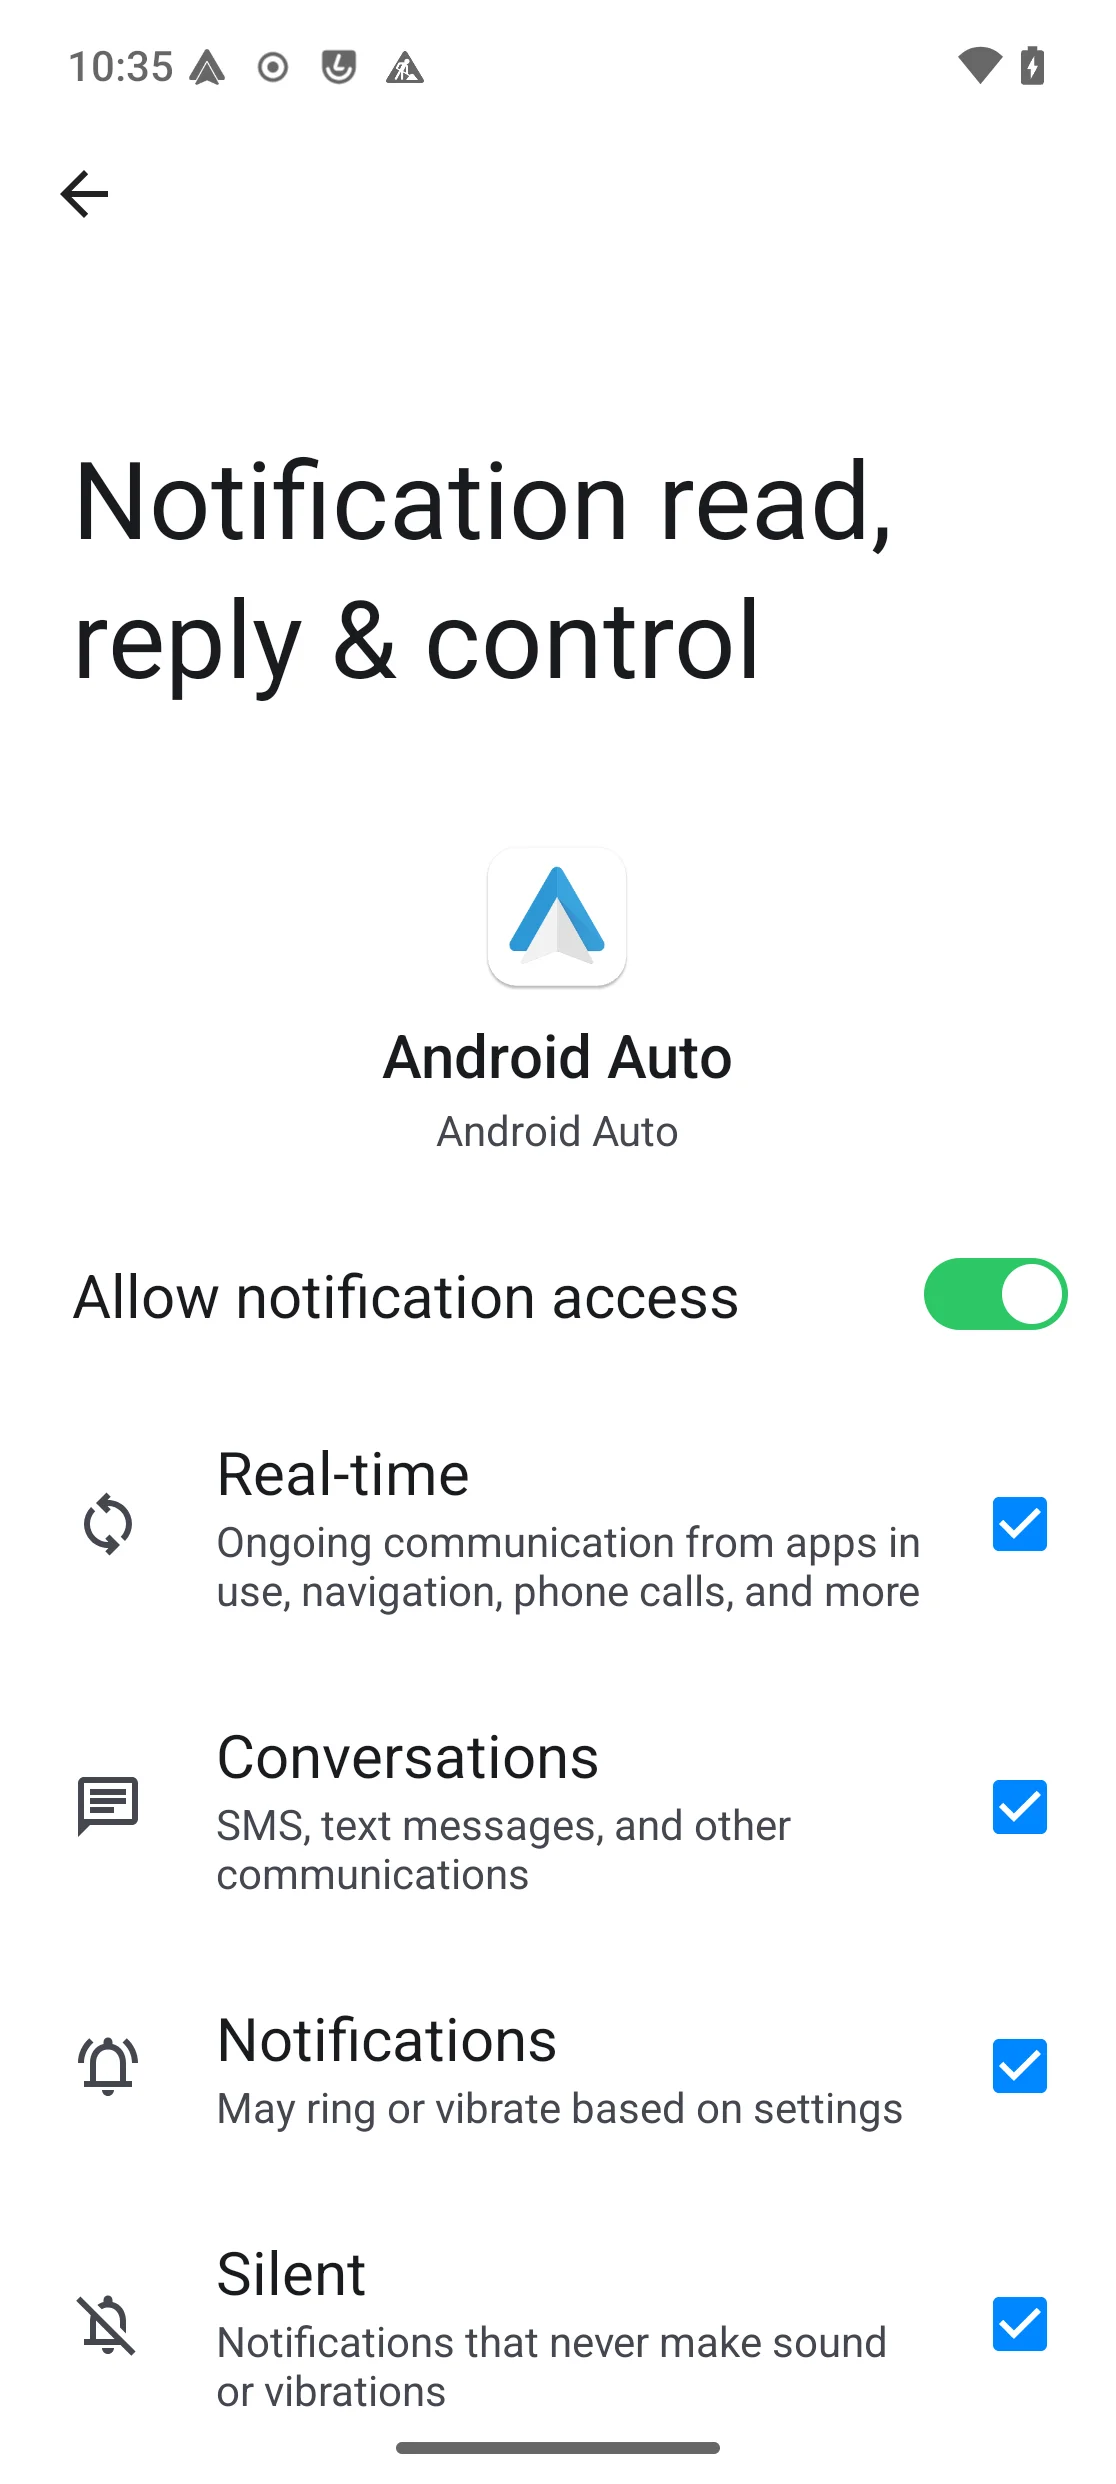
Once all permissions are granted, you’ll be able to see the Android Auto interface on your Car:
Troubleshoot apps not working with Android Auto
Sometimes apps like Spotify don’t work Android Auto (despite them being compatible). If you’re face this issue, follow the steps below:
- Launch the
Android Autoapp on your /e/OS device. - Scroll to the bottom and tap
Version10 times. - Navigate to Developer settings by tapping the
three-dot buttonat the top-right corner and tapingDeveloper settings. - Scroll down to
Unknown sourcesand turn itON.