Revert Samsung Device to stock ROM on Windows PC
Assumptions
- The user has a working samsung device with /e/OS on it.
- The user wishes to revert their Samsung device to Stock ROM
Stock ROM here refers to the ROM that is provided by the vendor.
Downloads
- Samsung stock ROM
We downloaded the ROM from the sammobile site
The site may require an account to be created. You can sign up for a free account.
- ODIN
The version we used for this test was 3.14.4
- Samsung USB drivers
Pre Requisites
- Windows 10 PC
We tested this on a windows 10 PC.
- Odin installed and working on the PC
We tested with ODIN version 3.14
- Internet connection on the PC
Required to download any device specific drivers to make it run on the PC
- Working data cable
There are cables which are used only for charging. Ensure the cable you use allows data and file transfer
IMPORTANT
- Keep the phone fully charged before starting the installation process
- Disable Samsung Kies if installed on your Windows PC
- Disable any anti virus programs running on the Windows PC. This includes the default
Steps
-
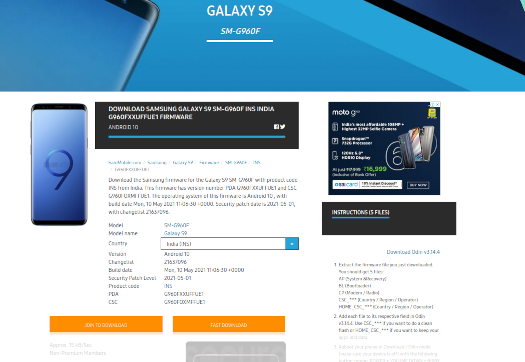
- Opening up the Sammobile site to download the Samsung stock ROM will show a long list of downloads.
- Choose the download specific to your country
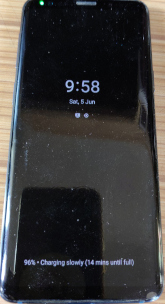
- This is how your Samsung smartphone would appear at this moment.
- You have not yet started the installation
- In this screenshot we have a /e/OS oreo build already installed on a s9
- Remove any passwords or PIN you may have set to unlock your device.
You can always set these up later after the installation
-
Disconnect the phone if attached by the device cable from the PC
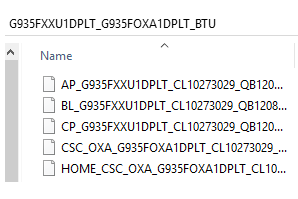
- Create a folder and unzip the downloaded Stock ROM inside this folder
- You should see files in the folder similar to the screenshot below
- Extract ODIN from the zip file.
- Browse to the folder where you have extracted ODIN and run Odin.exe
- Power off your phone.
-
Power on the phone into Download mode.
For example if it is the S9 then press
Bixby+Power+Volume down. TheBixbybutton is the one below the volume button on the s9 - On the blue screen you will be asked to
Confirmby clicking theVolume +button - Connect the phone to the PC using the data cable
-
ODIN should detect your device and assign a COM Port to it. In the screen shot below you can see COM5 assigned to the attached s9
The port number may change from PC to PC and on individual USB ports.
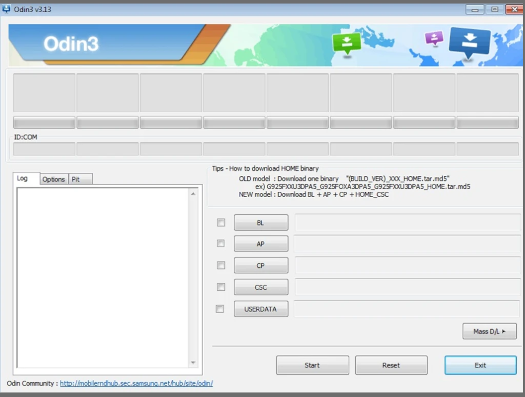
- In the ODIN UI you would see buttons with the text
BL,AP,CP,CSC,USERDATA- Select the AP tab from the Odin and import AP file
- Select the BL tab and import BL file.
- Select CP tab and import CP file there.
- Click on the CSC tab and import the Home_CSC file that is already in the firmware folder.
-
In Odin, tick on Auto Reboot and F.Reset.Time options for your Odin options
Now that you have set up ODIN to install you need to start the installation
-
Click on
StartbuttonYour phone screen will look like this while the installation is running. Notice a thin white line marking the completion of the download and installation
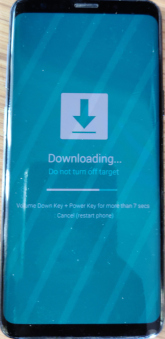
-
ODIN will also mark the progress and completion with a
PASSshowing up as visible in the screenshot below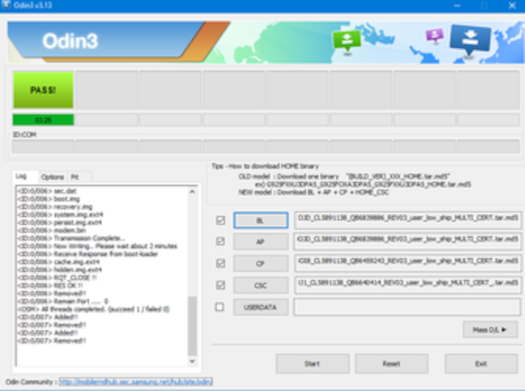
- This marks the completion of the installation.
-
Wait for a few minutes as your phone will now reboot and you should be at this screen which marks the start of the Stock ROM Set wizard on the Samsung smartphone

- You can remove the cable at this point as there is no further requirement for the PC or ODIN. You can start setting up your smartphone.
